Last time we showed you how to create the perfect braid with precious advice from professionals. Well, this time we will talk about another trend that seems to be going stronger than ever: the messy bun. Isn’t it ironic how usually, the most laid-back hairstyles require the most effort and preparation? The same goes for that famous no-makeup makeup look that everyone tries to achieve. How many times have we seen celebrities walking down the red carpet wearing a seemingly effortless do and looking like they do not have a care in the world? Probably countless times. Well darlings, you should know that those looks took entire hours to be put together. So, don’t be fooled and don’t feel bad because you can get that exact same result at home. Here’s how to get the perfect messy bun:
What you need to know
The first we want to share for a perfectly-put together messy bun is that second, third or even fourth-day hair works the best. Don’t try to do a messy bun with your hair freshly washed. This step is like champagne on a night out: essential. Stylist Amber Mayo explains that the messy bun should be a requirement for second and third hair day. Also, if you happen to have shorter hair don’t worry! It works on shoulder length hair too. The texture? We have good news for you: it works on every hair texture.
Step 1
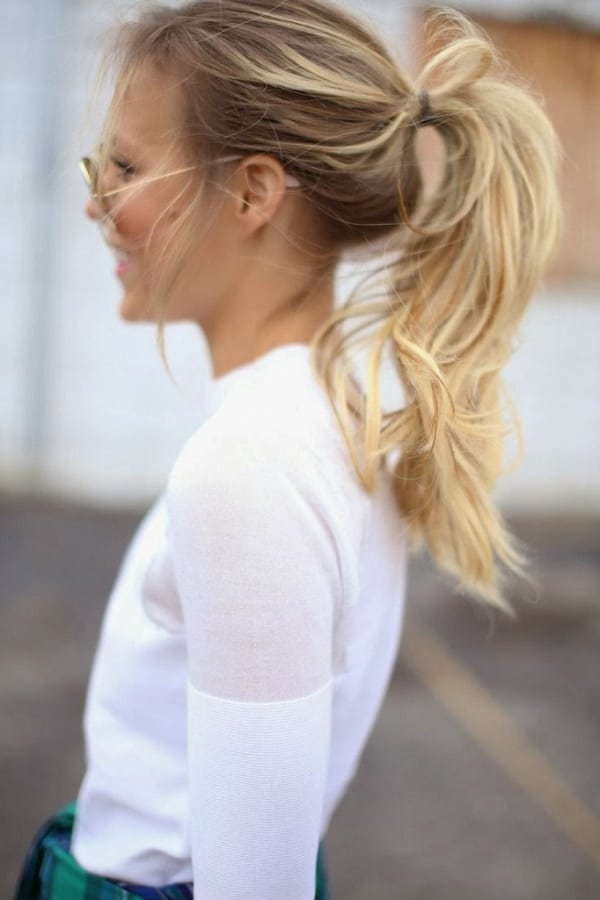
You will first need to pull your hair (remember, second or third day) into a loose and careless ponytail. It’s effortless, looks cool and gets rid of the annoying strands in your face. Pace it as low or as high as you want. There is no rule here. IMPORTANT: Don’t comb your rebel strand of hair and don’t try to slice them back. The name of this is “messy” bun.

Step 2
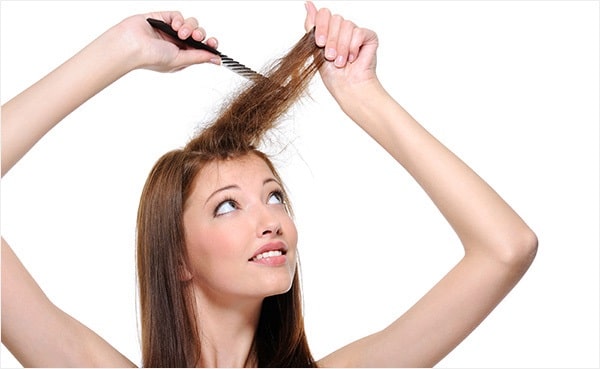
Then you will need to separate the hair in your ponytail. Do it in two or three sections. The most important part is then to begin teasing it. This is probably the most important step you can do to get the perfect messy bun. Teasing offers volume, texture and keeps it from looking like that dreadful ballerina bun (not that we don’t love ballerinas).

Step 3
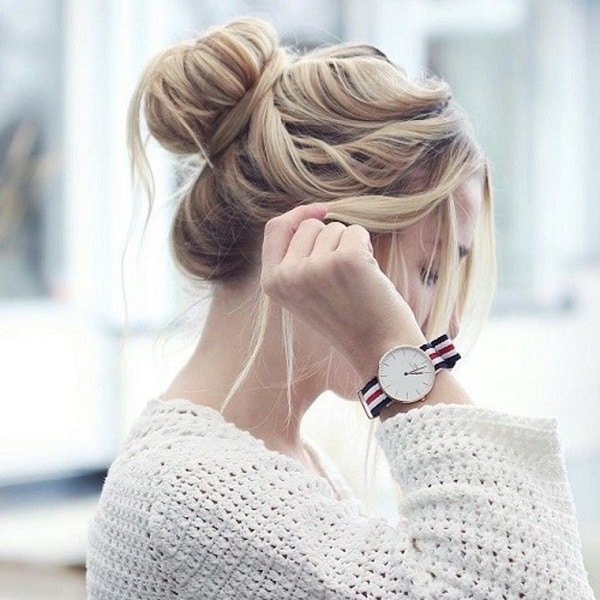
Here’s the hardest part. You will need to separate that teased hair into two sections. Then, wrap them around in opposite directions, the way you do when making a topknot. It’s very important to not secure your entire hair in place. Instead, use a bobby pin and secure it at about an inch from the bottom. This way, the ends of the strands of hair will be left free to create that messy look we are going for. If the bun itself is too tight, gently pull it apart with your fingers. As a finishing touch, you can leave some loose strands to play around your face, like the frame of a painting.

Extra tip:
If you really want a messy bun and you have freshly-washed hair, don’t worry! We have a tip for you. Simply spray some dry shampoo on your hair. That powder will dry it out and add some grip to it. Now that’s effortless!

Bonus: Here is a very useful tutorial from our favorite beauty vlogger, Zoella. You can try her method too if it’s easier for you!
Wrapping it all up
What did you think about these easy steps on how to get the perfect messy bun? Did they help you? Let us know ASAP!
Image source: pexels