
Some of you might want to do nails at home, but you are afraid that it will be a complete mess. I thought the same until I discovered the following simple guidelines on how to do acrylic nails at home. If you are careful and you take your time, your manicure will come out as gorgeous as you want it to be.
Main Tips on How to Do Acrylic Nails at Home
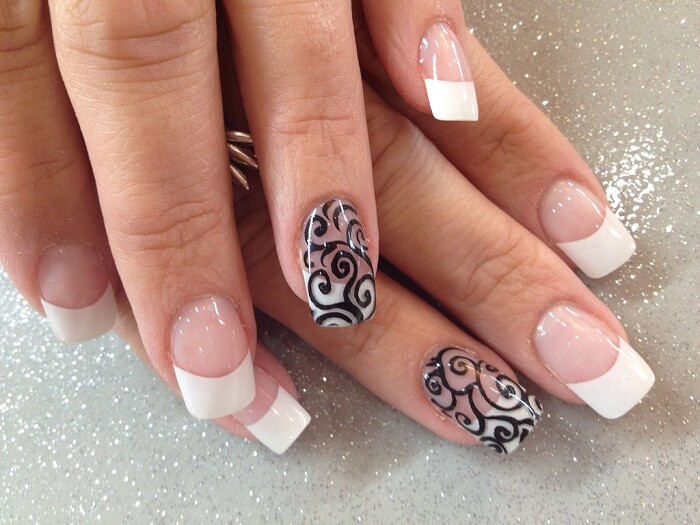
Image source: 1
#1. Gather All the Necessary Supplies
When it comes to how to do acrylic nails, you will need a lot of things such as a nail file, a clipper, nail forms, acrylic nail powder, toothpick, brush, and more.
To make the entire process easier, you should opt for an acrylic nail kit, especially if it’s your first time doing this procedure.
A great kit contains everything you need. Moreover, it comes with useful instructions. If you don’t want to buy a kit, you can always buy all these elements separately.
#2. Get Your Nails Ready
First of all, you should remove the old nail polish from your nails, if necessary.
Make sure your nails are totally clean before applying the acrylic. Then, you should trim your nails. This creates a great acrylic base to work on. Use the file to buff your nails’ surface.
If they become less shiny and rougher, the acrylic will stick on them better. Next, you should push your cuticles and apply a nail primer.
Getting your nails ready is a very important step. Without it, the acrylic manicure will not turn out to be as good as you might expect.
#3. Apply the Acrylic
The first thing to do is to apply the tips.
Determine your nails’ size and match the proper tips. You can use the file to modify the tips’ shape and size. Smaller is better.
It is time to apply the acrylic nails with glue.
Beginner-friendly, work in three beads:
Bead 1: Close to the cuticle
A tiny bead should be positioned a little distance from the cuticle. Gently pat and drag.
Bead 2: The centre of the nail
Construct the nail’s apex, or its strongest point.
Bead 3: Advice
Smooth and cover the tip.
➡ Gently move the brush. Instead of swiping, press.
Then, stick them on your natural nails right away. Otherwise, the glue might become dry.
After gluing the nails, you will have to apply gentle pressure to them for about ten seconds. It takes two to five minutes for acrylic to solidify.
Repeat these guidelines for all your nails.
#4. Finish the Nails
Now you can shape the tips as you please because the glue has dried completely. Also, it is time to paint your nails, with either colored polish or clear one. Make sure to create an even surface.
When it comes to how to do acrylic nails, you must be aware of the fact that this manicure lasts only two weeks.
After that, you need to reapply acrylic. Otherwise, you will have to remove it.

Advice for Beginners
- Shorter acrylics are easier to shape and handle, so start with them.
- Work in tiny beads until your control improves.
- Make sure the brush is damp but not soggy.
- Avoid using acrylic on the cuticle as this can cause lifting.
- Work in an area with adequate ventilation because monomer can have a strong odour.
Putting It All Together
A great-looking manicure is important for every woman. Don’t fret if you are not an expert in doing nails.
If you follow our above-described recommendations on how to do acrylic nails at home, you will soon become better at creating a beautiful masterpiece.
Don’t forget that there are some essential steps such as cleaning your nails that are a must if you want your manicure to look as good as you expect it to be. Read how to remove acrylic nails at home here.
















Comments 1